As you know, storage devices are an important part of the computer system for porting, saving, and extracting data files. And for you to differentiate between storage devices on your computer system, each one of the storage devices is labeled with a unique number referred to as Disk Signature for identification.
The unique disk identifier is stored as a part of the MBR or Master Boot Record. Disk signature is used by operating systems in order to identify and set apart different data storage devices and hard disk drives in the computer for data access.
These days, Disk cloning has become a regular practice in upgrading to larger hard disk drives. Drives are cloned in order to produce a similar copy to use both the original drive and cloned copy together. Moreover, lots of virtualization tools are being used to virtualize the physical hard disk drives to create virtual hard disk drives and several virtual machine clones that are created with the existing virtual hard disk drives. And since these are identical copies, chances these copies may have identical disk signatures. As a result, when you use both disks that have identical signatures at the same time you run into the Disk Signature Collision problem. This kind of problem does not often occur as the Windows system does not really allow two disks to function simultaneously when they have the same disk signature.
When you encounter a Disk Collision problem in your Windows 10 computer, you may see the following error messages:
- The boot selection failed because a required device is inaccessible
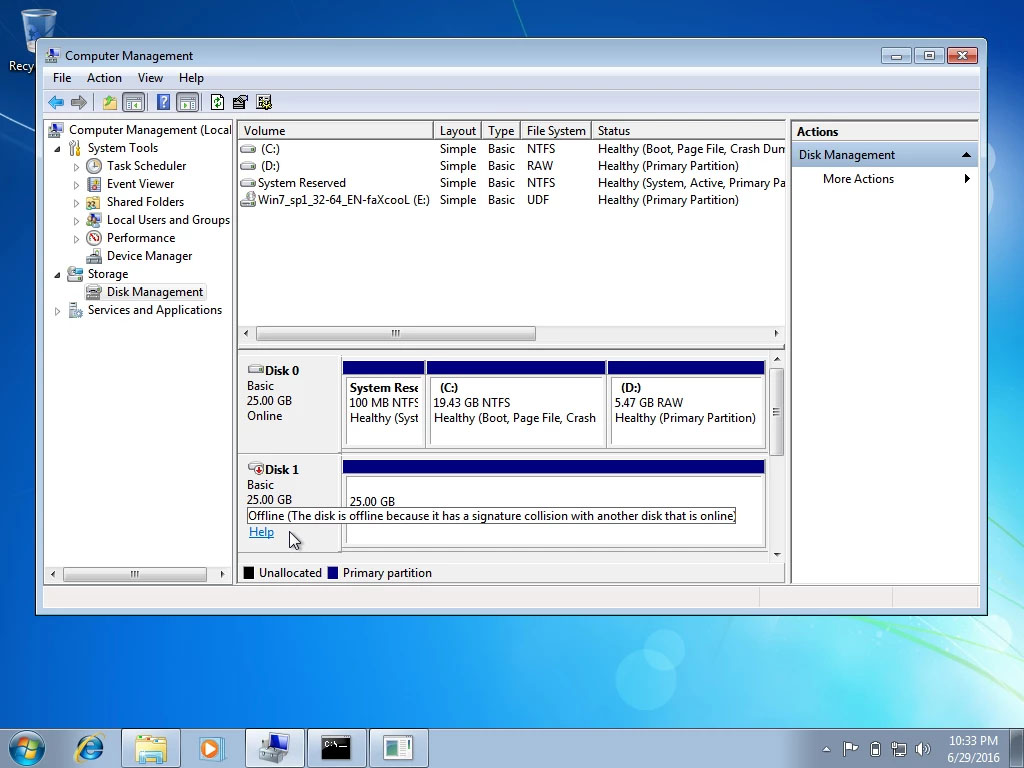
- The disk is offline because it has a signature collision
- This disk is offline because it has a signature collision with another disk that is online
You can fix the disk collision problem by changing the disk signature which you can achieve using the command line utility diskpart in Windows PowerShell or Command Prompt or using Windows Disk Management utility.
To fix the disk collision problem, you can make use of the command-line utility called diskpart in Windows PowerShell or Command Prompt to view and change the signature, or can make use of the Master Boot record in the Windows Registry. You can also make use of Windows Disk Management Utility to change the signature. Simply follow the given options below to change the disk signature either way.
Option 1 – Change Disk Signature via Diskpart
- Type “command prompt” in the Windows Search bar and then right-click on the related search result and select the “Run as administrator” option.
- After that, type the “diskpart” command and hit Enter to open Diskpart.
- Next, type the “list disk” command to display all the disks available in the system.
- Next, take note of the problematic disk number with the status Offline from the list and then type the “Select disk x” command where x is the offline disk to select the offline disk. For instance, if you type “select disk 1”, it will display the “Disk 1 is now the selected disk” message.
- Now type the “Uniqueid disk” command to display the disk signature and to change the disk’s signature and set the disk online, type the “unique disk ID= (New signature)” where (New signature) is the new ID in hexadecimal. For instance, you can set the new id as “unique disk ID= 1456ACBD”.
Note: If you have given the wrong format ID, the command prompt will display the following error:
“The specified identifier is not in the correct format. Type the identifier in the correct format: in hexadecimal form for an MBR disk or as a GUID for a GPT disk.”
- After you’re done, the disk will be online, and then restart your computer.
Option 2 – Change Disk Signature via Disk Management Utility
- Tap the Win + R keys to open the Run dialog box and then type “diskmgmt.msc” and hit Enter or click OK to open Disk Management.
- Next, right-click on the disk that is marked as Missing or Offline.
- After that, select the Online command from the drop-down menu.
- Then from the selecting option Online, Windows will generate a new disk signature.
Congratulations, you have just fixed the Disk Signature Collision problem in Windows 10 all by yourself. If you would like to read more helpful articles and tips about various software and hardware visit fixmypcfree.com daily.
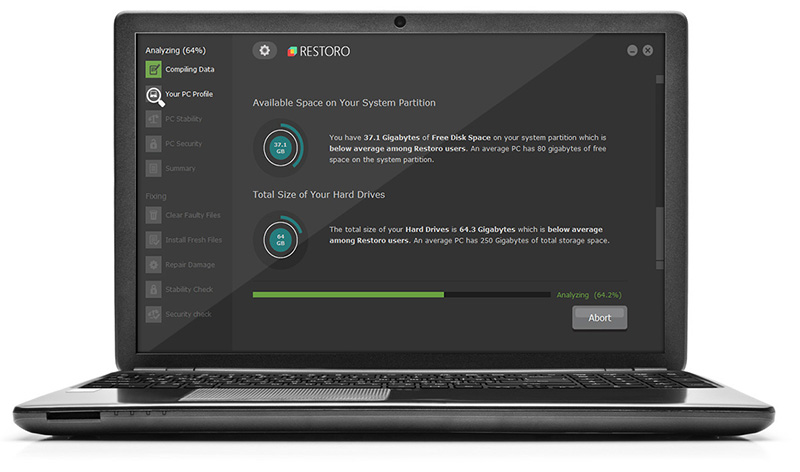
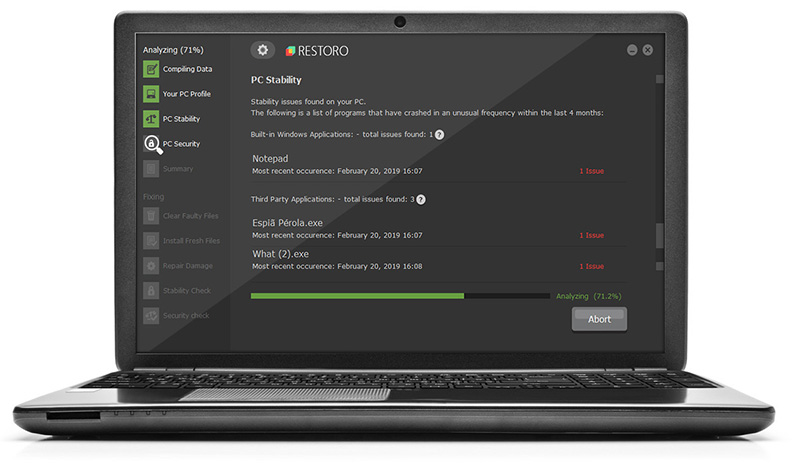
Now that’s how you fix the Disk Signature Collision problem in Windows 10 on a computer. On the other hand, if your computer is going through some system-related issues that have to get fixed, there is a one-click solution known as Restoro you could check out to resolve them.
This program is a useful tool that could repair corrupted registries and optimize your PC’s overall performance. Aside from that, it also cleans out your computer for any junk or corrupted files that help you eliminate any unwanted files from your system. This is basically a solution that’s within your grasp with just a click. It’s easy to use as it is user-friendly. For a complete set of instructions in downloading and using it, refer to the steps below
Perform a full system scan using Restoro. To do so, follow the instructions below.