What is 401 Unauthorized Error?
401 Unauthorized Error is an HTTPS status error that you can see on any kind of browser such as Google Chrome, Microsoft Edge, Mozilla Firefox, etc. This error is basically displayed when a problem has been encountered while loading the website you are trying to visit.
As we browse the web on a daily basis, we can come across various websites and we are often cajoled into subscribing to many online services, news blogs and other special offers in the web by simply signing in to their websites and linking our social media accounts like Google or Facebook – this helps in easing the process of authentication from various identity providers and also helps the sites to recognize the identity of users easily. Even though remembering all the sites and services we’ve signed up for is difficult, our systems keep track of those logins so it shouldn’t be that big of a problem to remember all the credentials we’ve entered in those accounts.
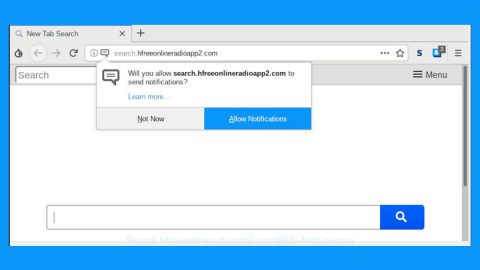
As you browse the web, coming across errors like “401 Unauthorized Access is denied due to invalid credentials” error alert is inevitable. This kind of error message often pops up on websites that require user credentials so if you are getting this error message, it most likely means that you have keyed in an invalid password or username. However, there are also instances where you can still get this error message despite entering valid credentials. In addition, this particular error may appear in different forms like “401 Unauthorized, HTTP Error 401- Unauthorised” or “Authorization Required” but they all mean the same thing. To fix this error, refer to each one of the suggestions given below.
Option 1 – Try to check any invalid URL
There are cases when you have entered an incorrect URL or you are trying to open a link that’s only exclusive for authorized users. In this kind of situation, the 401 error is displayed. So you have to make sure that you key in a valid URL address and that you have the authority to access it.
Option 2 – Make sure you’ve entered valid login credentials
Remembering those large scales of passwords can be quite hard to do so, especially if it’s alpha-numeric and if it contains all kinds of characters. So if you get the 401 error right after you’ve typed in your login credentials, this means that either the username or password you’ve entered is invalid or incorrect. So if you really can’t remember the correct credentials for this website, you can use its built-in password reset option to reset your password. The process is easy especially if you have entered a valid email address in the initial phase.
Option 3 – Look for a Secure Accessing option the main page of the website
If you have keyed in a valid URL address and you are still getting the same 401 error then it’s most likely possible that you are not logged into the website. If that’s really the case, you need to visit the website’s main page and look for the “Secure Access” option. After that, provide your login credentials on the login page and try to open the web page again.
Option 4 – Check if there’s false login requisite by the host server
A user error on the server side can result in a false login requirement even though the 401 error is a client-side error. To be exact, the 401 error is displayed to any user visiting the site without meaning to. For instance, at the server side, it might be that the network administrator enables the login authentication to all the users even though it is really not required. As a result, it causes a problem to regular users. To fix the problem, you have to inform the website by reaching out to the web admin.
If you are facing other system issues as of late, you could check out a one-click solution known as [product-name] to resolve them. This program is a useful tool that could repair corrupted registries and optimize your PC’s overall performance. Aside from that, it also cleans out your computer for any junk or corrupted files that help you eliminate any unwanted files from your system. This is basically a solution that’s within your grasp with just a click. It’s easy to use as it is user-friendly. For a complete set of instructions for downloading and using it, refer to the steps below.
Perform a full system scan using [product-code]. To do so, follow the instructions below.
- Turn on your computer. If it’s already on, you have to reboot
- After that, the BIOS screen will be displayed, but if Windows pops up instead, reboot your computer and try again. Once you’re on the BIOS screen, repeat pressing F8, by doing so the Advanced Option shows up.

- To navigate the Advanced Option use the arrow keys and select Safe Mode with Networking then hit
- Windows will now load the SafeMode with Networking.
- Press and hold both R key and Windows key.

- If done correctly, the Windows Run Box will show up.
- Type in the URL address, [product-url] in the Run dialog box and then tap Enter or click OK.
- After that, it will download the program. Wait for the download to finish and then open the launcher to install the program.
- Once the installation process is completed, run [product-code] to perform a full system scan.

- After the scan is completed click the “Fix, Clean & Optimize Now”button.